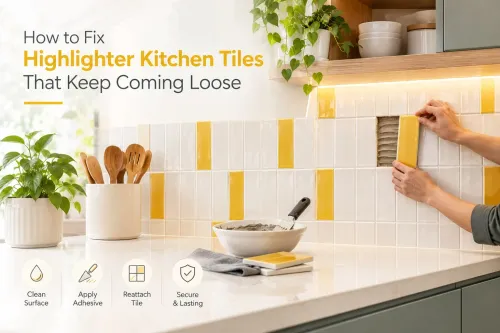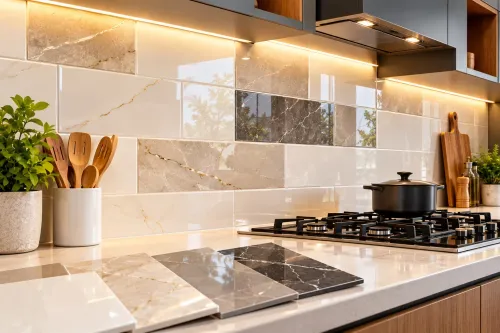
A highlighter tile is not specified adequately by a colour, a brand name, or a nominal size such as 300 × 600 mm. Before you pay, you need a record of the tile’s actual dimensions, batch, performance, quantity, installation requirements, and compatibility with the rest of the backsplash.
Key takeaways
- Record size, thickness, finish, shade, batch, edges, and fixing method.
- Calculate net area, layout cuts, and an agreed waste allowance before ordering.
- Compare ceramic and porcelain against moisture, cleaning, heat, and design needs.
- Approve a physical sample and match carton details to the purchase document.
Define the Tile’s Role and Record Its Full Specification
A highlighter kitchen tile is a decorative ceramic or porcelain accent tile used for a backsplash band, feature strip, niche lining, or limited accent area—not usually for full-surface coverage. For highlighter kitchen tile specifications before ordering, remember that “highlighter” is a market term, not a separate BIS performance class.
Record these highlighter kitchen tile details on the quotation:
- Manufacturer, collection, SKU, material, actual length and width, thickness, edge profile, finish, texture, shade code, caliber, intended location, water absorption, slip rating where relevant, and compliance with IS 15622 and/or ISO 13006.
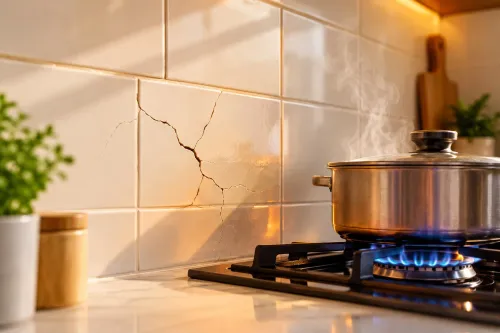
- Confirm whether the tile is wall-only. Ask for stain resistance, cleaning-chemical resistance, direct-heat limits, and thermal-shock limits, especially for installation behind a hob.
- Check the adjoining field tile’s thickness, module length, edge, and surface level. A mismatch creates a visible step or breaks grout alignment.
- Do not treat a PEI number as proof of backsplash performance. PEI primarily measures floor wear from foot traffic; it does not establish stain or chemical resistance.
Two products labelled 300 × 600 mm can have different fired dimensions and calibers. Installers need those actual measurements to align joints and combine tiles reliably.
| Label | What it may show | What you must confirm |
|---|---|---|
| 300 × 600 mm | Nominal size | Actual length, width, thickness, and caliber |
| PEI rating | Floor-wear resistance | Backsplash stain and chemical resistance separately |
Calculate Coverage, Batch Quantity, and Local Availability
Measure every wall elevation separately, not the kitchen floor. Multiply usable width by height, deduct doors and windows, then add the areas around sockets, corners, niches, and service points that require extra cuts or pieces.
Add about 10% for a straightforward backsplash; use 15% or more for diagonal layouts, many cut-outs, pattern matching, or small-format mosaics.
Keep spare cartons from the same batch for future repairs. A replacement from another shade or caliber can remain visibly different after one damaged tile is removed.
Your quotation must identify the selling unit and all extras:
| Unit quoted | Confirm before comparing |
|---|---|
| Square metre or square foot | Area covered by each box |
| Piece or sheet | Number of tiles or sheets required |
| Box | Tiles per box and total coverage |
| Accessories | Trims, borders, adhesive, grout, silicone, and corner pieces |
Kitchen tile availability means more than seeing the design online. Ask the supplier to confirm the exact SKU, shade, caliber, finish, physical carton count, batch status, and dispatch lead time. Also ask how damaged cartons or shade-mismatched cartons will be replaced.
Stock in Pune or Pimpri-Chinchwad can differ from a manufacturer’s central warehouse because local dealers hold different quantities, batches, and discontinued remnants. Before paying, request current carton photographs or a written stock confirmation. This is what to check before buying kitchen tiles when matching matters.
Compare Materials and Match the Backsplash to the Kitchen
A backsplash works with the existing kitchen when its material, thickness, module, and pattern suit the countertop, cabinets, adjoining field tile, and lighting—not merely the catalogue image.
| Option | Practical advantage | Trade-off |
|---|---|---|
| Plain ceramic | Economical and easy to replace | Higher porosity than porcelain |
| Porcelain | Low porosity and greater body density | Harder cutting and higher installation effort |
| Glass | Reflects light and brightens small kitchens | Adhesive marks show; careful cutting is essential |
| Mosaic | Simplifies curved, narrow, or small areas | More joints mean more grout cleaning |
| Natural stone | Unique variation and strong visual character | Often needs sealing; porous areas retain stains |
| Highlighter tile | Adds a controlled feature strip, band, or niche detail | Deep texture, pinholes, and recessed graphics collect grease and grout |
A glossy, low-porosity glazed surface wipes more easily after oil and food splashes. Request stain-resistance and chemical-resistance information instead of assuming every decorative glaze performs alike.
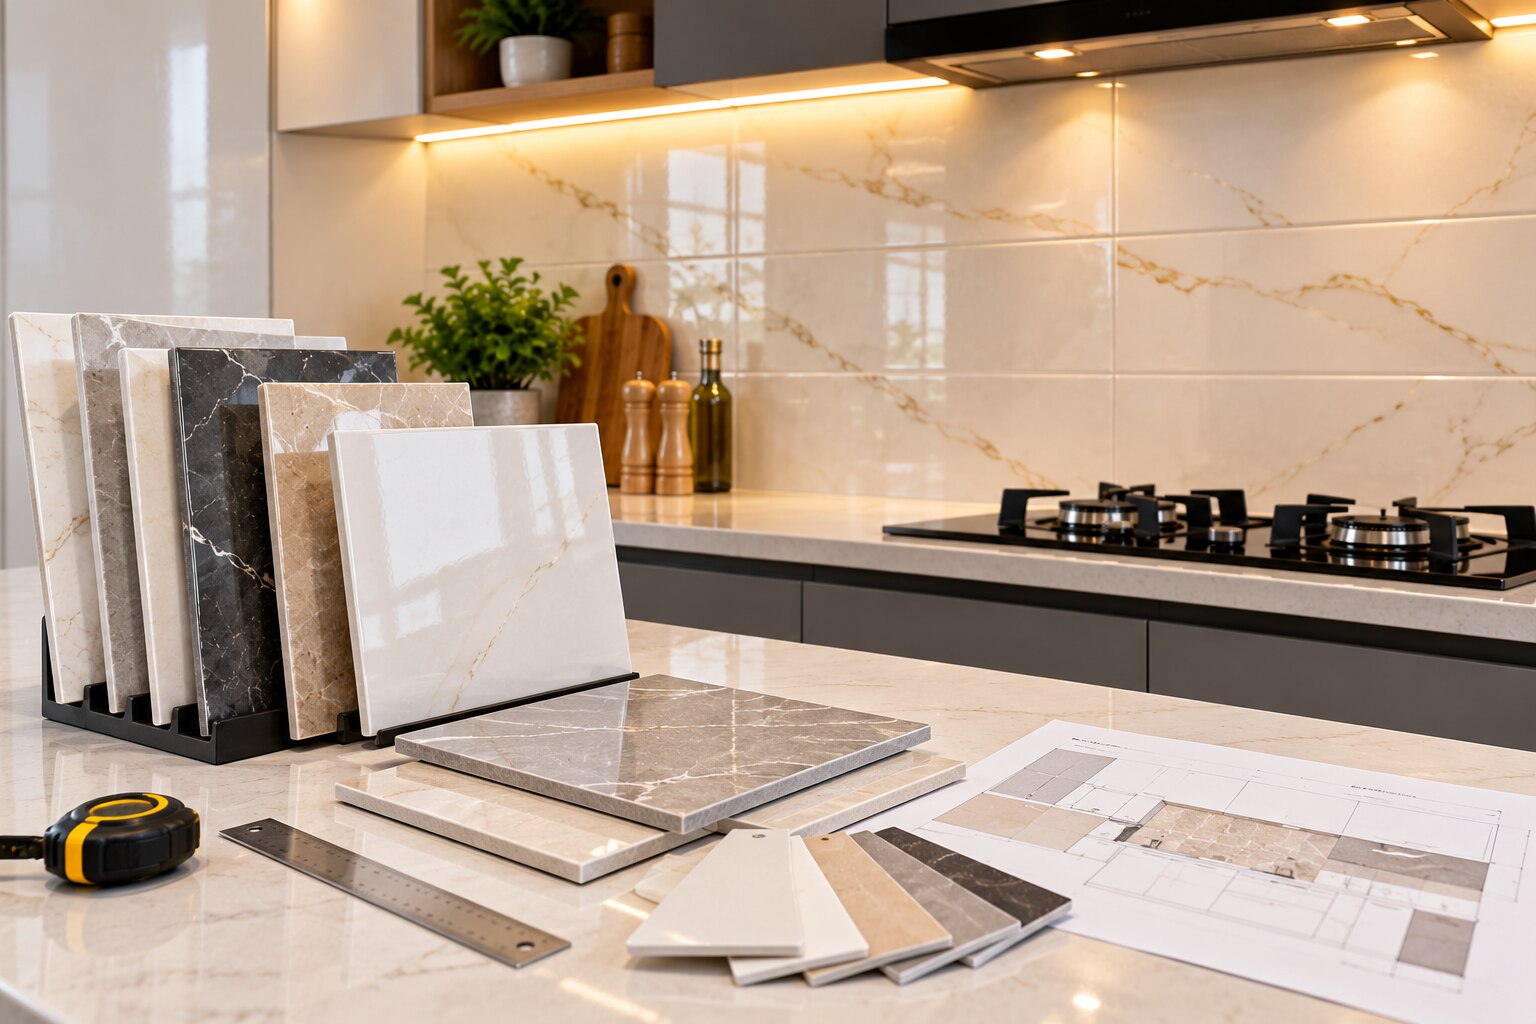
Place a physical sample beside the countertop, cabinet doors, handles, adjoining field tile, and grout options. Check actual thickness, edge profile, module length, and surface level; a thicker highlighter creates a step, while a different module breaks grout alignment around corners and electrical boxes.
Before approving highlighter tile brands, inspect:
- Metallic effects and marble veining in daylight, warm lighting, cool lighting, and under-cabinet LEDs.
- Repeated graphic placement across several pieces.
- Grout colour and joint width beside the actual surface.
- Surface texture after wiping water, oil-like residue, and grout haze.
Confirm Kitchen Conditions and Installation Requirements
1. Separate ordinary backsplash exposure from the zone beside a hob. Before ordering, confirm the manufacturer’s limits for direct heat, thermal shock, steam, water, oil splashes, frequent wiping, cleaning chemicals, and direct-flame exposure. A glossy decorative wall tile may be unsuitable behind a cooktop; check the appliance clearance and backing requirements with both installers.
Many highlighters are wall-only, not floor, wet-area, or exterior products.
2. Prepare the fixing surface before selecting quantities. It must be flat, sound, clean, and dry, with loose paint, grease, dust, dampness, cracks, and moisture ingress corrected. Specify a compatible cement-based or polymer-modified tile adhesive for the substrate and ceramic, porcelain, glass, or stone tile; generic wall putty is not a substitute.
Check the actual tile before fixing, then state the grout-joint width. Rectified edges still need a joint for dimensional tolerance, movement, and installation; edge-to-edge fitting increases lippage, chipped corners, and cracked grout.
3. Match the tool and finish to the job. Use a score-and-snap cutter for suitable ceramic, a wet saw for porcelain, thick pieces, corners, or precise mitres, and a diamond hole saw for outlets and pipe penetrations. Seal natural stone, porous tile, or textured decorative finishes when the manufacturer requires it.
Install silicone at changes of plane and the worktop junction, not rigid grout. Your what to check before buying kitchen tiles list should include these highlighter kitchen tile details: corner trims, end caps, outlet cut-outs, adhesive, grout, silicone, and matching accessories, ordered with the tile.
Inspect the Sample, Cartons, and Purchase Document Before Approval
Approve the order only after inspecting several pieces and one complete carton in the kitchen’s actual daylight, warm LEDs, cool LEDs, and under-cabinet lighting. Online images cannot show a batch’s full shade range or repeated pattern distribution.
Use this checklist for what to check before buying kitchen tiles:
- Compare shade, caliber labels, actual thickness, warping, chipped edges, scratches, uneven glaze, glaze skips, pinholes, print registration, surface texture, and graphic repetition.
- Wipe the sample after applying an oil-like residue, grout haze, and water marks, following the manufacturer’s cleaning guidance.
- Place it beside the adjoining field tile and check thickness, edge profile, surface level, module length, and grout alignment.
- If it faces a sink, inspect its wet appearance; darkening or visible marks can change the finished look.
| Check | Accept | Reject or clarify |
|---|---|---|
| Carton labels | Same manufacturer, SKU, shade, caliber, and batch | Mixed or missing labels |
| Surface | Even glaze, print, texture, and edges | Cracks, skips, pinholes, scratches, or chips |
| Availability | Exact quantity physically stocked | Online listing without local carton count |
Kajaria, H&R Johnson, Somany, Orientbell, Simpolo, and Varmora are highlighter tile brands marketed in India; brand presence proves neither current local stock nor performance. Shreya Marble can help compare physical samples, labels, trims, and installation quantities for a Pimpri-Chinchwad project.
Before payment, require the purchase document to state manufacturer, collection, SKU, size, finish, shade, caliber, batch, quantity, coverage, and replacement terms. Photograph carton labels and report visible defects before cutting or fixing.
Related product
 | Kitchen Tiles Elevate Your Kitchen with Statement Style Highlighter tiles are the ultimate secret weapon for creating an impactful, custom-designed kitchen... View product → |
Frequently asked questions
What specifications should you record before ordering a highlighter kitchen tile?
Record the tile length, width, thickness, material, surface finish, colour or shade, edge profile, texture, batch number, recommended adhesive, and intended installation area.
How do you calculate the quantity and check kitchen tile availability?
Measure the backsplash or accent area, account for the planned layout and cuts, add an agreed allowance for breakage, then confirm cartons, pieces per carton, batch quantity, lead time, and local stock.
Should you choose ceramic or porcelain for a highlighter kitchen tile?
Compare water absorption, durability, cutting requirements, surface finish, cleaning demands, and the kitchen’s moisture and heat exposure before choosing ceramic or porcelain.
What kitchen conditions affect tile selection and installation?
Check exposure to water, cooking heat, grease, steam, cleaning chemicals, uneven walls, electrical outlets, countertop joints, and the substrate before selecting the tile and fixing system.
What should you inspect before approving the tile order?
Inspect a physical sample for colour, gloss, texture, size, flatness, and edge quality, then match the approved sample with carton labels, shade, batch, quantity, and the purchase document.
Keywords