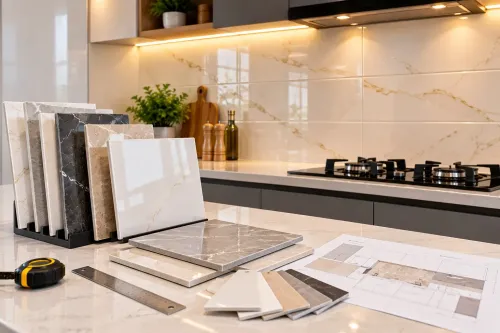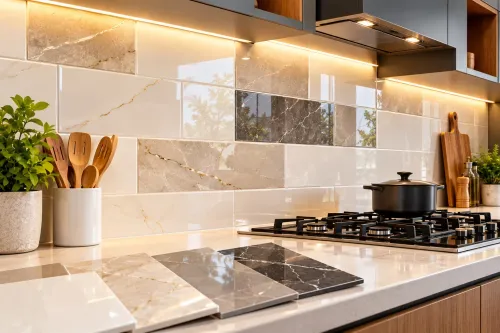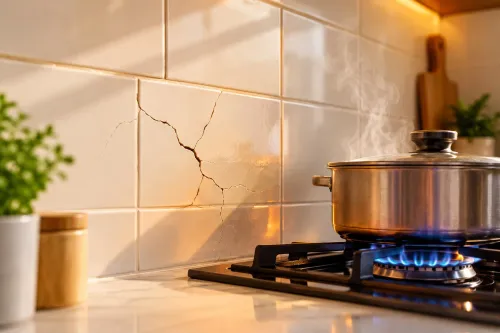
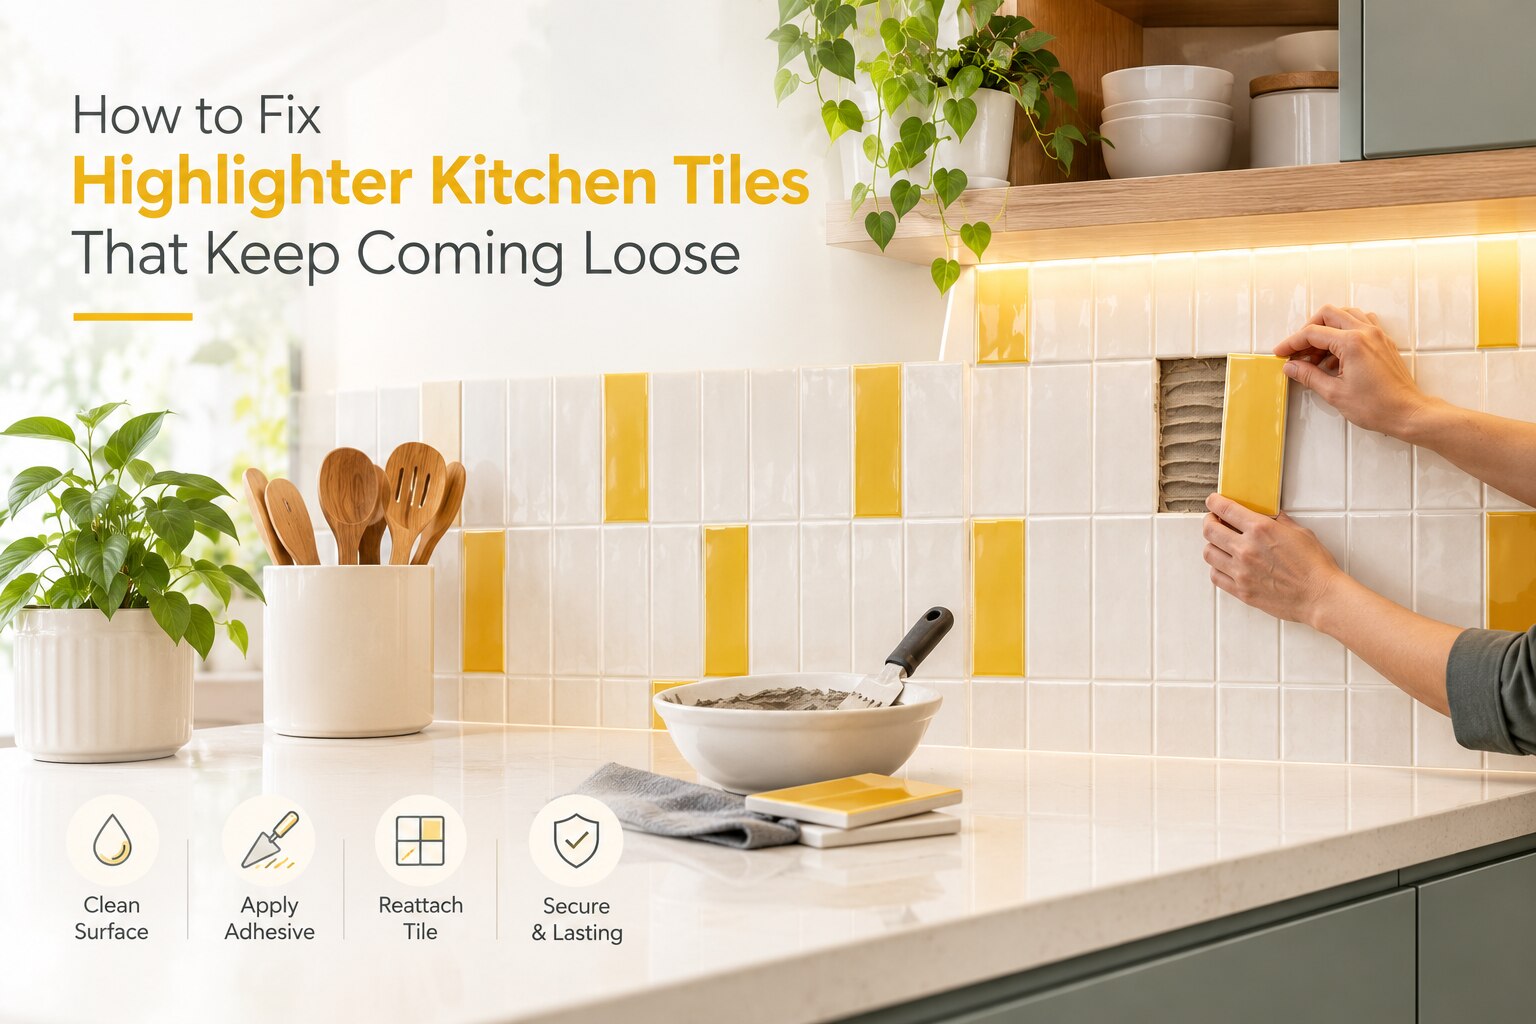
A loose kitchen tile is rarely fixed by adding grout or silicone around its edges. You need to identify whether the failure comes from poor adhesive contact, a damp or weak wall, tile movement, or a damaged tile before choosing between removal, resetting, regrouting, or professional substrate repair.
Key takeaways
- Remove one failed tile and inspect adhesive transfer before repairing.
- Replace tiles with cracked backs, damaged edges, or moisture-damaged walls.
- Clean both surfaces and achieve full adhesive coverage before resetting the tile.
- Call a tile contractor when dampness, hollow plaster, or repeated failures affect the wall.
Find Out Why the Highlighter Tile Came Loose
Remove one failed tile before choosing a repair. Inspect the adhesive transfer on both surfaces: a clean tile back, a clean wall, or adhesive stuck in a few blobs points to poor contact, dusty or greasy surfaces, inadequate wetting, incorrect adhesive thickness, or insufficient coverage.
Patterned and grooved backs need firm contact across their raised areas, not just adhesive on the wall.
The failed bond reveals where the installation broke:
- Adhesive remains as a solid, evenly distributed layer on the tile but has separated from plaster: the plaster or paint layer is weak, dusty, damp, or moving.
- Adhesive is powdery, cracked, or soft: it may be unsuitable, contaminated, mixed incorrectly, or disturbed before curing.
- Large bare patches surround adhesive ridges: the tile was not pressed and slid into the combed adhesive, leaving air pockets.
- Several tiles sound hollow or shift together: the wall may be uneven, the plaster layer may be loose, or movement is affecting the backsplash.
- Damp adhesive, staining, swollen plaster, or recurring grout cracks: investigate a leaking sink connection, concealed pipe, or unsealed countertop joint before resetting anything.
These clues matter for highlighter kitchen tiles for coming loose in pimpri chinchwad because a dry-looking backsplash can still hold hidden moisture. Silicone around the edges or adhesive injected through grout will hide the symptom, not restore a failed substrate or correct a leak.
Inspect the Tile, Grout, Wall and Moisture Before Repairing
Start with the wall, not the grout. Check the failed tile, adjacent tiles, joints, plaster, and moisture source before applying adhesive; otherwise kitchen tiles falling off in Pimpri-Chinchwad can return after a cosmetic repair.
1. Examine the grout joints for hairline cracks, missing sections, dark staining, powder, or soft edges. Regrouting suits intact tiles with failed joints, but grout cannot hold a tile whose adhesive bond has failed.
2. Tap the tile faces and nearby tiles lightly with a coin handle. A hollow sound over one tile suggests poor adhesive contact; a broad hollow patch, movement, or cracking across several tiles points to a loose plaster or adhesive layer behind them.
3. Check beneath the sink, around supply and waste connections, and along the countertop-to-wall joint. Feel for dampness and use a moisture meter if available. Persistent moisture, staining, swollen plaster, or a musty smell means repair the leak before fixing tiles.
4. Have one failed tile removed carefully and inspect both surfaces. Adhesive in isolated blobs, a clean tile back, or a clean wall indicates poor coverage or wetting. A continuous adhesive layer still attached to the tile but separated from plaster indicates substrate failure.
5. Press and scrape the exposed plaster lightly with a tool. If it powders, flakes, sounds hollow, or moves, remove the loose layer. Check the wall with a straightedge; deep hollows require levelling rather than extra adhesive behind individual decorative tiles.
Stop local repair when dampness or loose plaster extends beyond the tile. Regrouting alone will only conceal the failure temporarily.
Remove and Reset a Loose Highlighter Tile Correctly
Do not lever a loose tile against its neighbours. Cover its face with masking tape, then cut through the surrounding grout with a grout saw or sharp utility knife. This releases the edges and prevents pressure from chipping adjacent tiles.
- Protect the countertop and wear eye protection. Place a folded cloth below the work area.
- Start at the loosest edge. Slide a rigid putty knife into the joint and work it inward with light taps from a hammer.
- Lift the tile gradually from several sides. If it resists, stop and cut deeper through the adhesive rather than forcing the tile.
- Set the tile aside and inspect its back and the exposed wall. Adhesive in a few blobs, a clean tile back, or a clean wall indicates poor contact; adhesive firmly attached to the tile but plaster pulled away indicates substrate failure.
- Scrape off all friable adhesive, grout and plaster. Do not leave paint, old putty, chalky skim coat, grease or dust on the bonding area.
- Check that the wall is firm, dry and flat. Remove weak material and repair or level the area before resetting the tile.
- Apply the specified tile adhesive to the sound surface. Comb it evenly, back-butter a grooved or patterned tile, then press and slide it into position.
- Align the joints and wipe away adhesive before it hardens. Keep water, steam and impact away until the adhesive and grout cure for the times stated on their technical sheets.
A durable loose highlighter tiles repair ends with grout only after the tile has developed its bond.
Choose the Right Adhesive and Prevent Repeat Failure
Match the adhesive to the tile’s surface and back profile, not just its size. For a kitchen splashback, use a tile-rated, polymer-modified adhesive on a clean, sound, flat substrate. Kitchen tile adhesive problems often begin with paint, putty, grease, powdery plaster, or old adhesive left behind.
| Tile type | Adhesive choice | Installation practice |
|---|---|---|
| Glazed ceramic | Polymer-modified cementitious adhesive rated for wall tiles | Comb the wall, press and slide the tile, then check coverage |
| Porcelain | Adhesive specifically rated for low-absorption porcelain | Use firm bedding and do not rely on a thick blob to fill gaps |
| Glass | White adhesive approved for glass tile | Back-butter where needed; grey adhesive can show through translucent glass |
| Natural stone | White, non-staining adhesive approved for that stone | Confirm compatibility first; some stone absorbs moisture or discolours |
| Textured or grooved back | Flexible polymer-modified adhesive with suitable open time | Back-butter the tile and fill the raised pattern instead of leaving air pockets |
Spread only an area you can tile before the adhesive skins over. Pull one test tile shortly after placement: the adhesive ridges should collapse and transfer across the back, not remain mostly on the wall. Level an uneven wall before fixing decorative pieces; building up adhesive behind each tile creates voids, variable thickness, and shrinkage.
Keep the tile supported and undisturbed for the adhesive manufacturer’s stated curing period. Do not wash, steam-clean, or heavily wet the splashback during that time. A flexible adhesive helps where minor movement exists, but it cannot rescue a weak plaster layer or damp wall.
Know When the Wall Needs a Tile Contractor or Mason
Stop local repair when more than one highlighter tile moves, grout joints crack repeatedly, or the wall feels soft, damp, or hollow over a broad area. Remove one failed tile and inspect both surfaces: blobs or a clean tile back indicate poor coverage, while a continuous adhesive layer separating from plaster points to substrate failure.
Escalate to a tile contractor or mason when you find:
- Loose plaster, bulging, damp staining, or active leakage behind the backsplash
- An uneven wall that would require thick, inconsistent adhesive layers
- Several debonded tiles, cracked joints, or movement across the pattern
- Water-damaged plaster, masonry, or electrical fittings near the sink
- Broken, discontinued, or badly mismatched replacement tiles
Use a mason for leaking, weak, or uneven plaster and masonry. Use a tile contractor for adhesive selection, coverage, layout, levelling, and resetting the installation system. A contractor should remove unstable material, dry the wall, level the substrate, and confirm suitable adhesive contact instead of hiding failure with grout or silicone.
For tile installation problems in PCMC, show the installer the failed tile and adhesive transfer before choosing replacements. Shreya Marble can help compare a replacement’s size, thickness, finish, and back profile with the existing highlighter tile; matching appearance alone will not correct a failed wall or bond.
Related product
 | Kitchen Tiles Elevate Your Kitchen with Statement Style Highlighter tiles are the ultimate secret weapon for creating an impactful, custom-designed kitchen... View product → |
Frequently asked questions
Why do highlighter kitchen tiles keep coming loose?
Common causes include poor adhesive contact, dusty or greasy surfaces, inadequate wetting, incorrect adhesive thickness, and insufficient coverage. Inspect the adhesive transfer on the tile back and wall to identify the failure.
How should I inspect a loose highlighter tile before repairing it?
Check the tile for cracks and damaged edges, then inspect the wall for hollow plaster, dampness, grease, dust, and loose material. Look at whether adhesive is spread across both surfaces or remains in isolated blobs.
How do I remove and reset a loose highlighter tile?
Protect nearby tiles, remove the loose tile without damaging sound edges, scrape away failed adhesive, clean and dry both surfaces, apply suitable tile adhesive at the correct thickness, and press the tile into full contact before regrouting.
When should I call a contractor or mason for kitchen tile repairs?
Call a professional when moisture is entering the wall, plaster sounds hollow, several tiles are falling off, the substrate is crumbling, or the repair keeps failing after proper adhesive preparation.
Keywords