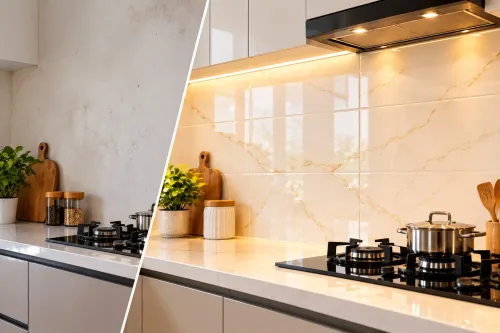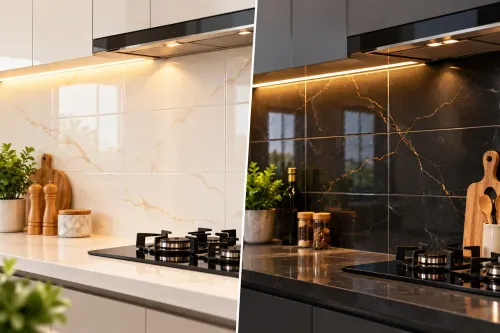
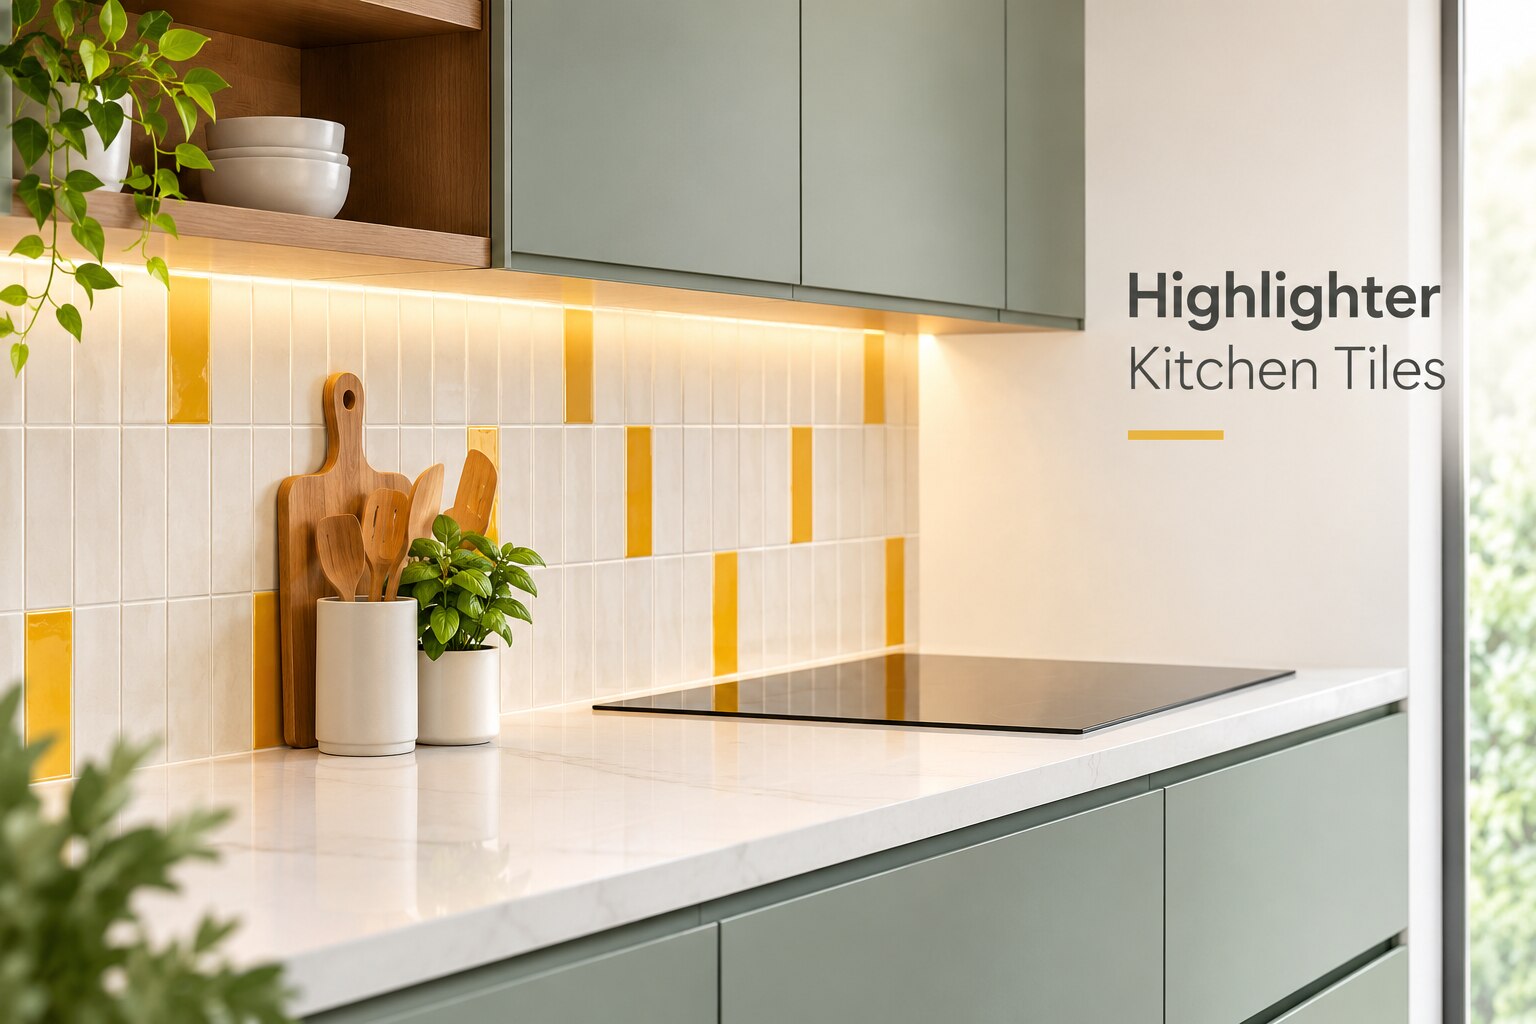
Highlighter tiles can give a kitchen a stronger focal point, but the result depends on placement, cleanability, grout, lighting and the materials already in the room. By comparing them with other backsplash finishes and planning the installation in detail, you can decide when the added cost and maintenance are justified.
Key takeaways
- Use highlighter tiles for one defined focal zone, not every kitchen wall.
- Compare cleaning, grout, replacement, and installation demands before choosing decorative tiles.
- Match tile scale, relief, gloss, and colour to cabinetry, lighting, and worktop.
- Specify tile batch, layout, adhesive, grout, edge trims, and waste allowance.
When Highlighter Tiles Earn Their Place in a Kitchen
Highlighter tiles earn their place when a kitchen needs one controlled focal area, not decoration on every wall. So, are highlighter kitchen tiles worth it? Yes, for a cooker niche, sink wall, open-shelf backdrop or horizontal band where colour, gloss, relief or pattern can define the zone without changing the kitchen layout.
| Project type | Design goal | When the choice beats a plain backsplash |
|---|---|---|
| Feature-led renovation | Create a focal point | Use accent tiles behind the hob or sink, with plain field tiles elsewhere |
| Premium residential kitchen | Add texture and visual proportion | Justify a stronger finish when cabinetry and worktops remain restrained |
| Builder or designer show kitchen | Support a colour scheme | Use a repeatable accent band that photographs well and stays easy to specify |
| Value-conscious project | Add character without covering every wall | Limit the accent to a small area; a full decorative backsplash can erase the budget advantage |
The decorative kitchen tile benefits are visual and zoning-related. They do not automatically improve hygiene, waterproofing or durability; those depend on the tile body, glaze, grout, substrate, adhesive and installation. A smaller accent quantity also simplifies replacement if one tile breaks or becomes unavailable.
Choose highlighter tiles when:
- The countertop, cabinet grain and hardware are quiet enough to leave contrast visible.
- Your budget covers extra cutting, careful alignment and a complete approval sample with field tile, accent, grout and joint width.
- You accept a design that may date faster than a plain ceramic or porcelain backsplash.
Use a plain backsplash instead when the room already has strong patterns, the wall needs frequent scrubbing, or the project demands the lowest material and installation risk.
How Highlighter Tiles Compare With Other Backsplash Options
Highlighter tiles are worth choosing when contrast matters more than a uniform, low-maintenance surface. Compared with other kitchen backsplash tile options, they offer a controlled focal point through colour, gloss, relief, scale or material, but they demand more restraint and careful cleaning.
| Option | Main advantage | Main limitation |
|---|---|---|
| Highlighter tile | Defines a cooker niche, sink wall or band | Costs more and can look noisy across every wall |
| Plain ceramic or porcelain | Flat glazed surfaces wipe clean and are easy to replace | Provides less texture or visual emphasis |
| Patterned tile | Creates a strong graphic statement over a larger area | Can clash with patterned worktops, cabinet grain or bold hardware |
| Mosaic | Handles curves and adds detail through small pieces | More grout lines collect grease and require more scrubbing |
| Natural stone | Delivers genuine variation and a premium, material-led finish | Porous stone needs sealing; marble can etch from lemon, vinegar and acidic cleaners |
| Glass | Reflects light and gives colour extra depth | Transparent pieces reveal adhesive ridges, uneven substrates and incorrect mortar colour |
| Washable paint | Usually offers the fastest, simplest and least expensive refresh | Scuffs and moisture damage appear sooner behind a hob or sink |
Treat a stone highlighter as stone, not glazed ceramic: approve the grout and cleaner for that specific material. Glass needs a tile-compatible adhesive and grout, plus a mock-up before installation. A field tile with a smaller accent quantity usually controls cost, visual density and future replacement better than a fully highlighted backsplash.
Match the Tile to the Kitchen, Not Just the Sample
Choose the accent after assessing the whole kitchen, because cabinet colour, countertop movement and available wall area determine whether contrast adds highlighter tile design value or creates noise.
- Match warm wood, beige or cream cabinets with warm whites, terracotta, brass or muted greens. Pair cool grey or white cabinets with blue, charcoal, sage or crisp white accents.
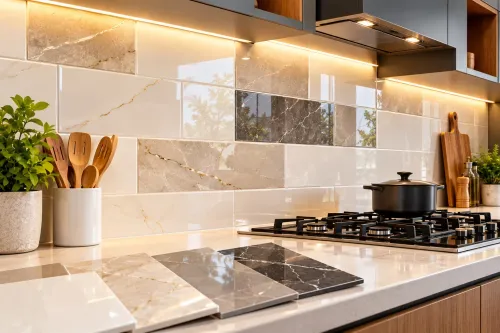
- Let a strongly veined granite, quartz or marble countertop lead visually. Use a quieter tile colour and flatter texture; a bold relief or pattern beside busy veining competes for attention.
- Use high-contrast colour or relief on a compact backsplash only when the rest of the wall remains calm. Across a full-height backsplash, reduce pattern scale and choose a close-colour grout.
- Under-cabinet LEDs reveal gloss, ridges and uneven joints. View the tile at night with the installed light temperature, not only under a showroom’s neutral lighting.
- In a small kitchen, large reflective pieces can expand the wall, while dense mosaics or deep relief can make it feel crowded. A tall vertical strip can emphasise height; a horizontal band can reinforce a long run.
- Place the accent where it supports the layout: behind the hob or sink for a focal point, or across the full run for continuity. Keep existing patterned floors, curtains and cabinet grain in the count.
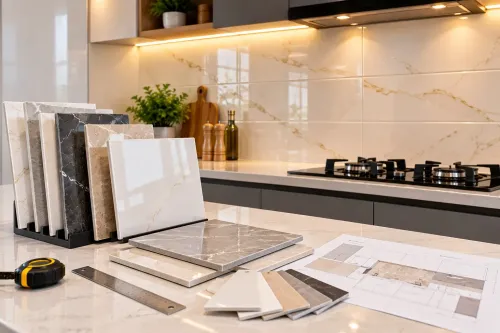
Approve a mock-up containing the field tile, accent, grout, adhesive colour and proposed joint width. A loose sample hides repetition, edge visibility and the cleaning burden of relief.
The Costs and Practical Drawbacks to Calculate First
Highlighter tiles become poor value when their visual impact adds cost without solving a practical problem. The answer to “are highlighter kitchen tiles worth it” depends on whether the focal area justifies extra material, cutting, installation time and future maintenance.
Calculate these risks before approving the sample:
- “Highlighter” is a retail term, not a performance grade. Confirm the tile body, water absorption, surface finish, edge treatment, intended location and cleaning instructions; decorative kitchen tile benefits do not automatically provide better hygiene, waterproofing or durability.
- Add waste for directional patterns, irregular shapes, matching pieces and difficult cuts around sockets, corners and appliances. Limited batches can also make future replacement impossible.
- Budget a skilled installer and a mock-up. Relief, dimensional variation and narrow formats expose uneven joints, while a contrasting grout makes every alignment error more visible.
- Treat glass mosaics as a separate installation risk. Translucent pieces can reveal adhesive ridges, substrate defects or incorrect mortar colour, so specify a glass-compatible adhesive and grout system.
Maintenance continues after installation. Deep relief, porous surfaces and numerous grout joints collect oil and dust beside a hob or sink; aggressive scrubbing can damage finishes. A strongly coloured accent can also date faster than a plain field tile, while contrast competes with patterned counters, cabinet grain and hardware.
Use it in a controlled zone if cleaning access, replacement stock and total installed cost still make sense.
A Specification and Installation Checklist for Designers
Approval fails when a loose accent piece looks attractive but the installed wall exposes colour shifts, adhesive ridges or awkward cuts. Document the complete mock-up for highlighter kitchen tiles for interior designers before releasing the order.
1. Photograph and approve a mock-up containing the actual field tile, highlighter tile, grout colour, adhesive colour and proposed joint width. View it under daylight and the kitchen’s installed task lighting.
2. Record each elevation, tile layout, starting datum, feature-zone dimensions and alignment with cabinets, worktops, sockets and appliances. Mark the cooker niche, sink wall and any horizontal band separately.
3. Calculate quantities by tile type and elevation, including pieces needed for cuts, breakage and future replacement. Keep spare tiles from the approved batch.
4. Specify grout brand, colour, joint width and finish. State whether relief, metallic surfaces or porous edges require a cleaning test or manufacturer-approved sealer.
5. Identify the substrate as plaster, cement board, existing tile or another surface, and require it to be flat, sound, dry and clean. At sinks, document waterproofing, seams and penetrations; tile and grout are not the waterproofing layer.
6. Name the adhesive system and colour. Glass or translucent tile requires a glass-compatible mortar that will not show ridges or substrate defects.
7. Draw cut locations, exposed edges, corner returns, trim profiles and termination points. Do not leave narrow slivers beside cabinets or visible raw tile edges.
8. Attach batch numbers, delivery inspection photos and installer instructions, including mixing, trowel, back-buttering, cure time, cleaning and protection requirements.
Ask Shreya Marble to verify batch continuity and supply samples for the documented assembly, not just individual kitchen backsplash tile options.
Frequently asked questions
Are highlighter kitchen tiles worth it?
They are worth using when one controlled area needs a focal point, such as a cooker niche, sink wall, open-shelf backdrop, or horizontal band. They add visual definition without changing the kitchen layout, but they require careful coordination with lighting, cabinetry, grout, and maintenance.
How do highlighter tiles compare with other backsplash options?
Highlighter tiles offer more colour, relief, gloss, and pattern than plain ceramic or porcelain tiles. Large-format tile, stone, glass, and microcement can produce fewer joints or a more continuous surface, so compare appearance with cleaning, repair, installation, and replacement requirements.
Where should highlighter kitchen tiles be used?
Use them where you want to define a specific zone, including behind a hob, around a sink, beneath open shelving, or as a horizontal band. Avoid placing a busy pattern beside competing finishes or across every wall unless the overall scheme supports it.
What should interior designers specify before ordering highlighter tiles?
Specify the tile dimensions, thickness, finish, relief, colour, batch, water absorption, slip requirements where relevant, grout colour, edge treatment, layout, adhesive, substrate preparation, and waste allowance. Confirm lighting and full-size samples before approving the final selection.
Keywords