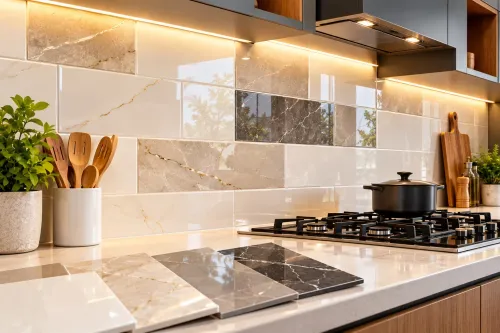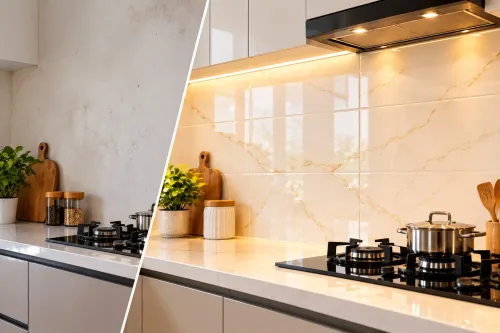
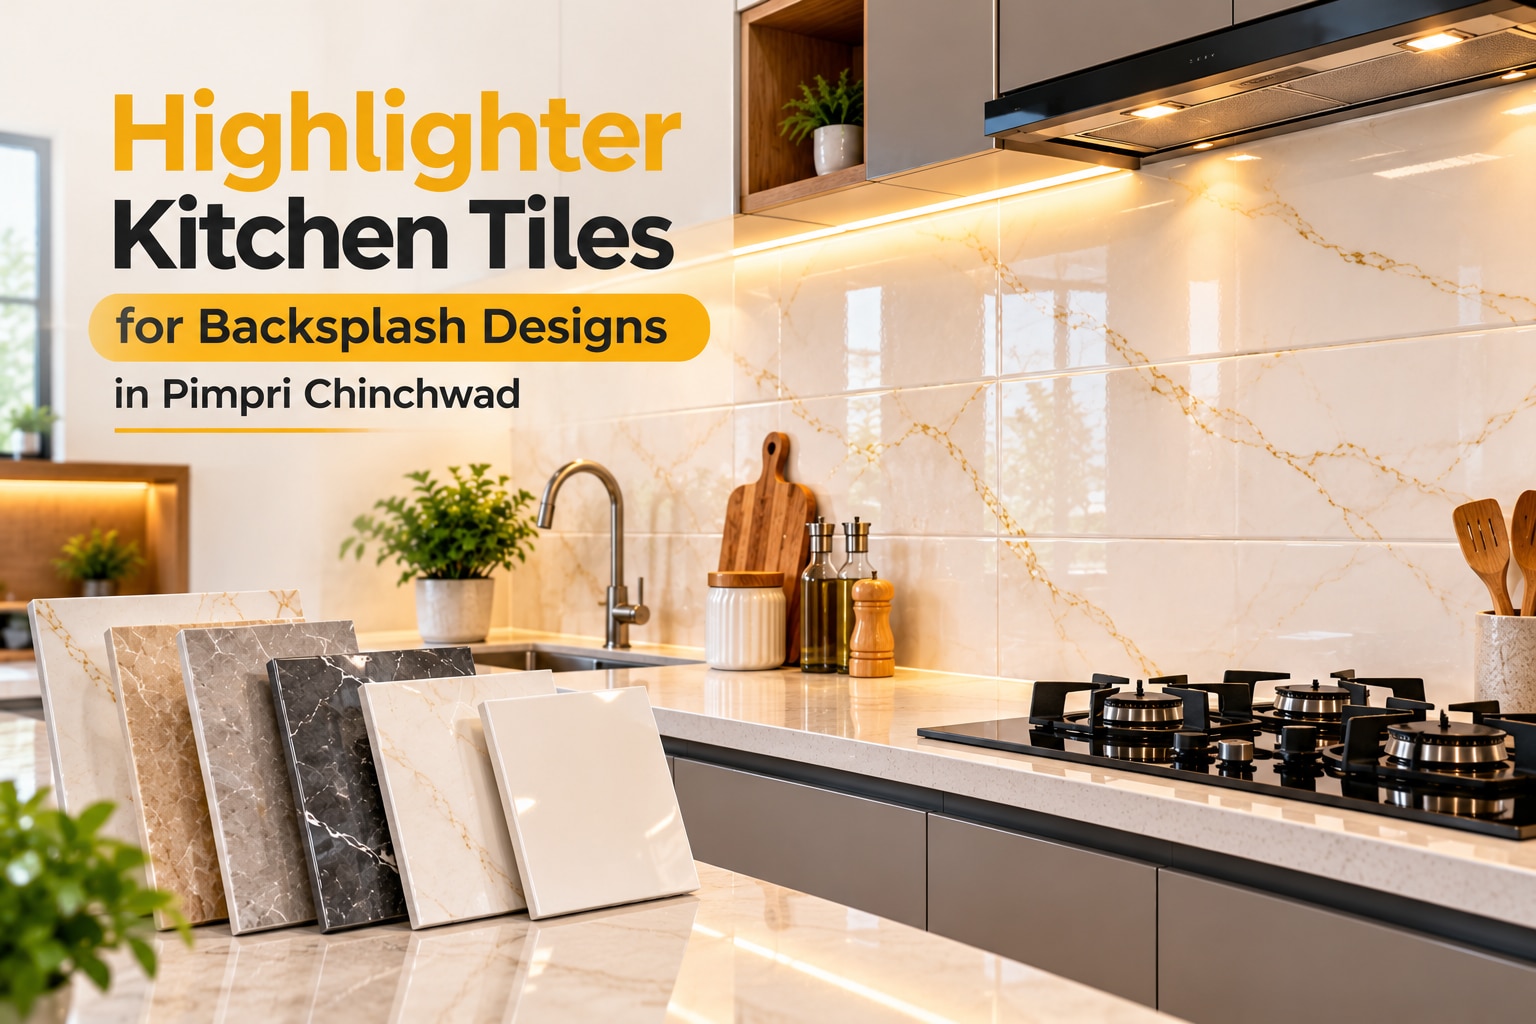
A decorative backsplash has to do more than attract attention: it must fit the cooking zones, align with the plain field tile, tolerate oil and water, and remain practical to clean. You will be able to plan the layout, verify the tile specification, calculate the order, compare suppliers, and reject designs that create avoidable installation or maintenance problems.
Key takeaways
- Use highlighter tiles for one focal zone, not every backsplash surface.
- Choose glazed, low-porosity tiles with heat and stain resistance behind the hob.
- Measure each wall, subtract openings, and add 10% for cuts and breakage.
- Take wall dimensions, cabinet plans, grout preferences, and tile samples to your supplier.
Where should highlighter tiles go on a kitchen backsplash?
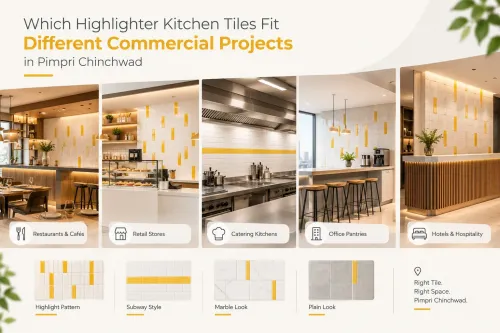
Use highlighter tiles where they create one controlled focal point: a full-height backsplash between the countertop and cabinets, a cooker-wall panel framed by plain tiles, a sink-wall section, an open niche, or a narrow band aligned with the countertop or cabinet line.
For a compact kitchen, choose one feature panel or a narrow horizontal band. Covering every wall with a busy pattern makes the room feel smaller. In a large kitchen, repeat the same tile at the hob and sink only when the spacing and sightlines remain clear.
| Backsplash location | Suitable layout | Main caution |
|---|---|---|
| Cooker wall | Feature panel framed by plain tiles | Avoid crowded socket and hood cuts |
| Sink wall | Full-height section or niche | Check splash resistance and cleaning |
| Cabinet run | Narrow band aligned to cabinet line | Mark borders before cutting |
| Open niche | Decorative interior panel | Match depth, trim and lighting |
| Walls with many interruptions | Plain field tile | Pattern can look accidental |
Keep highly patterned designs away from sockets, windows, shelves, tall units and appliance edges. Combine highlighter tiles for kitchen walls with a restrained field tile, then compare them against the countertop, cabinet doors, flooring, hardware and grout.
Metro tiles add regular rhythm, plain ceramic provides a quiet background, porcelain offers low absorption, glass mosaics add reflection, and natural stone brings variation and maintenance demands. Marble or granite can anchor a panel, but compare veining direction and visual weight before mixing materials.
For Decorative kitchen wall tiles PCMC projects, mark the countertop, hood and cabinet lines first so borders do not end in awkward cuts.
Which tile specification works behind a hob and sink?
The right specification is the actual tile system, not the trade label “highlighter.” Ask whether it is glazed ceramic, porcelain, glass, marble, mosaic, metal-look or resin-backed tile, and record its actual dimensions, water absorption, shade, calibre, finish, thickness and wall-only installation guidance.
| Type | Useful property | Check before approval |
|---|---|---|
| Glazed ceramic | Smooth surface for routine cleaning | Confirm heat and adhesive suitability |
| Porcelain | ISO 13006 water absorption of 0.5% or less | Low absorption does not guarantee easy cleaning or adhesive compatibility |
| Glass, marble, mosaic, metal-look or resin-backed | Decorative finish or reflective effect | Confirm backing, cleaning method and wall-use instructions |
Behind a hob, choose a finish that tolerates repeated degreasing. Confirm the appliance manufacturer’s clearance and heat-shield requirements; tile, grout and adhesive cannot correct an incorrectly positioned gas or electric appliance.
Near a sink, inspect continuous glaze, exposed cut edges and splash resistance. Smooth glazed or matt surfaces clean more easily than deeply recessed, unglazed or heavily textured designs, which trap oil and masala residue.
Check that highlighter kitchen tiles for backsplash in pimpri chinchwad match the field tile’s calibrated size and thickness. Two nominal 300 × 600 mm tiles can create different grout lines. Approve grout width and colour with an installed sample: close-colour grout reduces visual noise, while contrast exposes variation.
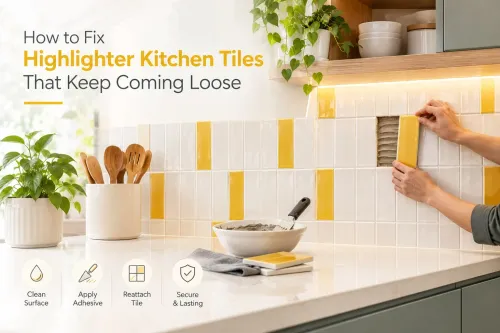
Use trim, polished edges or a planned return at exposed ends. Seal countertop joints and internal corners with flexible sanitary sealant, not rigid grout. Apply the same checks when comparing kitchen backsplash tiles in pimpri chinchwad.
How do you measure, order and prepare the backsplash for installation?
1. Measure each uninterrupted rectangle separately. Multiply width by height, subtract only openings that will genuinely remain untiled, then add niches, returns and side panels. For highlighter kitchen tiles for backsplash in pimpri chinchwad, record each dimension in millimetres and keep a sketch showing cabinet and countertop lines.
2. Divide the total area by the tile’s stated coverage, then add material for cuts, breakage and the layout. A straight field-tile run needs less extra than diagonal work, borders, niches or mesh mosaics; retain spare tiles from the same batch for future repairs.
3. Dry-lay several mosaic sheets and correct sheet joints before adhesive sets. Repeated mesh lines can become more visible than individual grout joints, making the installation look uneven even when each tile is aligned.
4. Make the wall flat, sound, dry and free from oil, dust, loose paint and curing compounds. Repair hollow plaster and movement cracks; adhesive is not a bridge for unstable surfaces. Specify a polymer-modified cementitious adhesive, or another system approved for the tile and substrate, especially for large-format or low-absorption products.
5. Confirm the backing or mesh, tile weight and adhesive instructions for glass, metal-look and resin-backed tiles. Mark socket centres, plumbing points, hood brackets and cabinet edges before cutting. Reject thin slivers around sockets and visible corners, and resolve thickness changes at transitions with planned trim or substrate adjustment.
What should you take to a tile supplier in Pimpri Chinchwad?
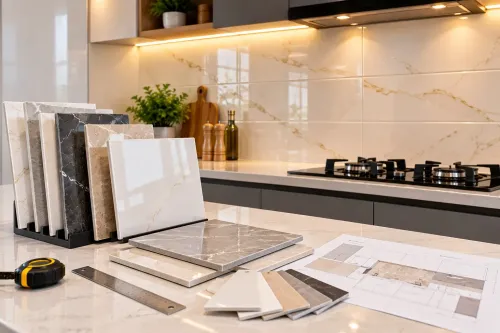
Take a dimensioned wall drawing showing countertop height, cabinet underside, hood position, windows, sockets, plumbing points, niches and exposed ends. Carry a cabinet-door sample, countertop or marble and granite sample, flooring reference, hardware finish and appliance photographs.
Ask a kitchen tile supplier in Pimpri Chinchwad to place a physical highlighter tile beside the proposed field tile, not just show a catalogue image. Inspect both under warm and cool kitchen lighting.
Compare these points before approving the combination:
| Item | Check | Why it matters |
|---|---|---|
| Gloss and texture | Match the lighting and cleaning tolerance | Deep texture traps grease; gloss can reflect task lights |
| Veining and edge colour | View several tiles beside the field tile | A single sample can hide variation |
| Dimensions and thickness | Dry-lay actual tiles with grout spacers | Nominal 300 × 600 mm sizes can still misalign |
| Grout | Test colour and width with both tiles | Contrast exposes size variation |
| Finish and batch | Record shade, calibre and batch numbers | A later replacement may not match |
Request the product type, water absorption, dimensions, calibre, shade, finish, thickness, wall-use instruction, adhesive recommendation and cleaning method in writing. Confirm that decorative and field tiles come from compatible batches.
The quotation must state quantities, cuts allowance, spare tiles, batch details, delivery timing, replacement availability and who coordinates the installer. Local stock matters: a discontinued or unmatched batch can make a damaged tile impossible to replace.
Shreya Marble is worth comparing with other suppliers when it preserves the approved physical sample, confirms the installation batch before dispatch and coordinates delivery with site readiness. Compare that evidence, not showroom lighting.
Related product
 | Kitchen Tiles Elevate Your Kitchen with Statement Style Highlighter tiles are the ultimate secret weapon for creating an impactful, custom-designed kitchen... View product → |
What maintenance problems and design mistakes should you reject?
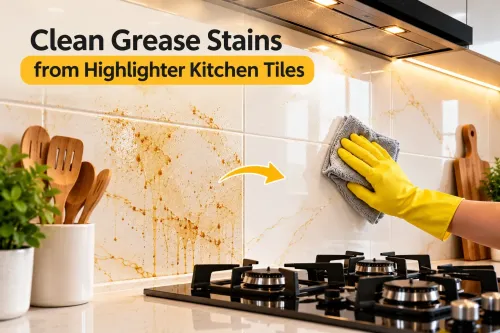
Reject a tile when its grooves, pits or raised pattern sit behind heavy-splatter cooking and the cleaning instructions do not name a suitable brush, cloth or degreaser. Ask how grease can be removed without damaging the glaze, metallic coating, sealant or grout; textured surfaces need more frequent attention than smooth glazed tiles.
Reject designs with these avoidable failures:
- A busy motif covering every wall
- Sockets, switches or appliance edges cutting through the main pattern
- Decorative and field tiles with incompatible thicknesses
- Contrasting grout selected before checking actual size variation
- A strongly glossy finish that reflects direct task lighting
- A small sample approved without viewing several tiles together
| Surface | Practical strength | Reject it when |
|---|---|---|
| Plain ceramic or porcelain | Quiet, easier-cleaning field background | You want substantial texture or natural variation |
| Glass | Continuous-looking reflection and simple wipe-down | Glare or visible splashes will dominate |
| Marble, granite or natural stone | Veining and weight anchor a feature panel | You need acid resistance or minimal upkeep |
| Textured highlighter tile | Adds depth to a limited focal area | Oil and masala will lodge in deep recesses |
Marble is not acid-proof after sealing. Lemon juice, vinegar, acidic cleaners and some descaling products can etch it, so record the stone type, finish, sealer suitability and cleaning restrictions.
Highlighter tiles for kitchen walls are the wrong choice when you need a seamless low-maintenance surface, a restrained interior, or a backsplash crowded with sockets, windows and shelves. Compare kitchen backsplash tiles in Pimpri Chinchwad with plain ceramic, porcelain, glass, marble, granite and other continuous surfaces against your cleaning tolerance and visual goal.
Before approval, inspect a mock-up with grout, trim, cabinet, countertop and lighting. Sign off only after the installer confirms flatness, cuts, corner seals and appliance clearances.
Frequently asked questions
Where should highlighter tiles go on a kitchen backsplash?
Use them for one controlled focal zone, such as a full-height backsplash, cooker-wall panel, sink section, niche, or narrow aligned band.
Which tile specification works behind a hob and sink?
Choose glazed, low-porosity wall tiles with a washable surface, suitable heat resistance behind the hob, and resistance to water, oil, and cleaning products.
How do you measure and order backsplash tiles?
Measure each wall’s width and height, subtract windows and openings, calculate the area, and order about 10% extra for cuts and breakage.
What should you take to a tile supplier in Pimpri Chinchwad?
Take wall measurements, cabinet and countertop drawings, photographs, grout preferences, appliance locations, and any sample of the countertop or cabinet finish.
Which maintenance problems and design mistakes should you reject?
Reject unsealed porous surfaces, deep textures near the hob, excessive pattern mixing, unplanned electrical cuts, mismatched grout, and tiles that cannot be cleaned easily.
Keywords